🔁 Webhooks
If you want to send the parsed data to your server, another application, or an integration platform such as Zapier or Make, the most straightforward method is to use a webhook. With a webhook, you can seamlessly transfer data between applications in real-time, providing a more practical solution compared to API.
Here are the steps you should take to export your parsed data via a webhook:
Step 1. Copy the endpoint URL from the application to which you intend to export the data.
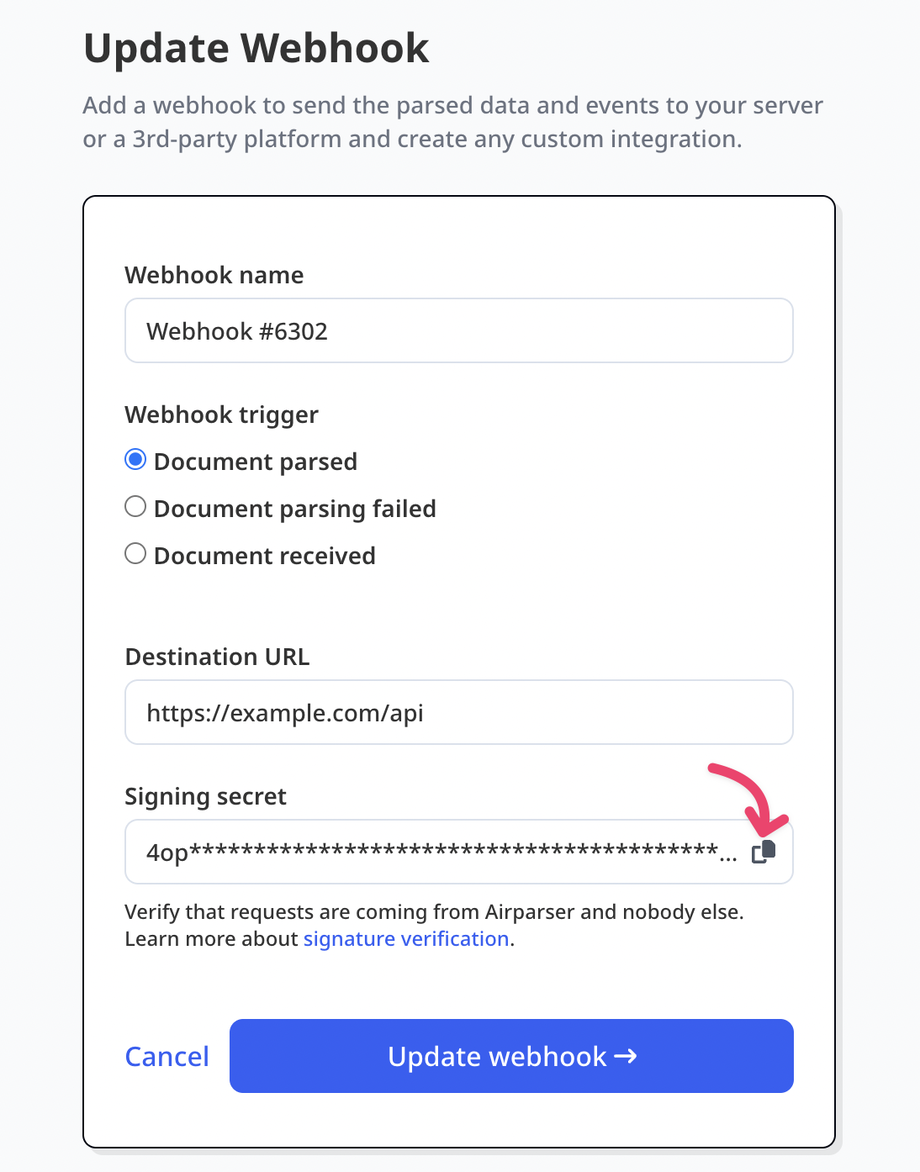
Step 2. Navigate to Integrations → Webhooks in your Airparser account.
Step 3. Select "Create a webhook" and then paste the destination URL.
From this point forward, Airparser will trigger the webhook every time a new document is parsed.
You can use the webhook.site service, which allows you to generate a test webhook endpoint and displays the received payload data.
Configuring Your Server to Receive Webhooks
If you're looking to receive webhook events on your own server, here are a few code samples.
PHP:
$payload = @file_get_contents('php://input');// ...http_response_code(200);Node.JS:
// 1) Paste this code into a new file (server.js)// 2) Install dependencies// npm install express// 3) Run the server on http://localhost:4242// node server.js const express = require('express');const app = express(); app.post('/webhook', express.raw({type: 'application/json'}), (request, response) => { const payload = request.body; // ... // Return a 200 response to acknowledge receipt of the event response.send();}); app.listen(4242, () => console.log('Running on port 4242'));Python:
# 1) Paste this code into a new file (app.py)# 2) Install dependencies# pip3 install flask# 3) Run the server on http://localhost:4242# python3 -m flask run --port=4242 import jsonimport osfrom flask import Flask, jsonify, request app = Flask(__name__) @app.route('/webhook', methods=['POST'])def webhook(): payload = request.data # ... return jsonify(success=True)Secure Your Webhooks (optional)
To receive a webhook, you need to have a publicly available URL (the webhook endpoint) that can receive POST requests. However, this setup might be insecure, as anyone can call your webhook and trigger an action on your server.
When you create a webhook, Airparser generates a unique Signing Secret. This secret is employed to sign each webhook payload, and the resulting signature is sent in the request header as airparser-signature. By verifying this signature before processing webhooks, you can ensure that the incoming request is both genuine and originates from Airparser.
Verifying the Signature
To verify the signature you received from Airparser, generate the signature yourself using the Signing Secret, and then compare it with the signature you receive in the webhook payload. If they match, you can be confident that the webhook originated from Airparser.
- Create a hash of the entire received payload as binary using the HMAC SHA-256 algorithm and the signing secret as a key.
- Encode the hash in base64 format.
- Compare the signature value with the value you received in the
airparser-signatureheader.
Pseudocode: signature = base64(HMAC_SHA256(payload_binary, secret)).
NodeJS with Express:
const crypto = require('crypto'); // Store the rawBody bufferapp.use( express.json({ verify: (req, res, buf) => { req.rawBody = buf; }, })); app.post('/webhook', async (req, res) => { // Signing secret from webhook itself const SIGNING_SECRET = "<your secret key>"; // Received signature const signature1 = req.get('airparser-signature'); // Generate signature const signature2 = crypto .createHmac('sha256', SIGNING_SECRET) .update(req.rawBody) .digest('base64'); // Compare signatures if (signature1 === signature2) { // Signature is valid. res.sendStatus(200); } else { // Signature is invalid. Reject the request. res.sendStatus(403); }});


